Posted by Spycor LLC on Mar 18th 2025
How to Clean Your Dryer Vent: A Complete Guide
Keeping your dryer vent clean is essential for maintaining efficiency and preventing fire hazards. Over time, lint and debris accumulate in the vent, reducing airflow and increasing energy consumption. Regular dryer vent cleaning not only improves drying efficiency but also extends the lifespan of your appliance and enhances safety. If you're looking for a step-by-step guide on how to perform dryer vent cleaning, you're in the right place.

Why Dryer Vent Cleaning is Important
Many homeowners underestimate the importance of dryer vent duct cleaning. A clogged dryer vent can lead to:
-
Fire Hazards: Lint is highly flammable, and clogged vents increase the risk of dryer fires.
-
Higher Energy Bills: Poor airflow forces the dryer to work harder, consuming more energy.
-
Longer Drying Times: If your clothes take multiple cycles to dry, a blocked vent could be the culprit.
-
Shortened Dryer Lifespan: The added strain on the dryer can lead to frequent breakdowns and costly repairs.
Signs Your Dryer Vent Needs Cleaning
Before jumping into how to clean a dryer vent, look for these warning signs:
-
Clothes take longer to dry than usual.
-
The dryer feels unusually hot during operation.
-
A burning smell occurs when the dryer is running.
-
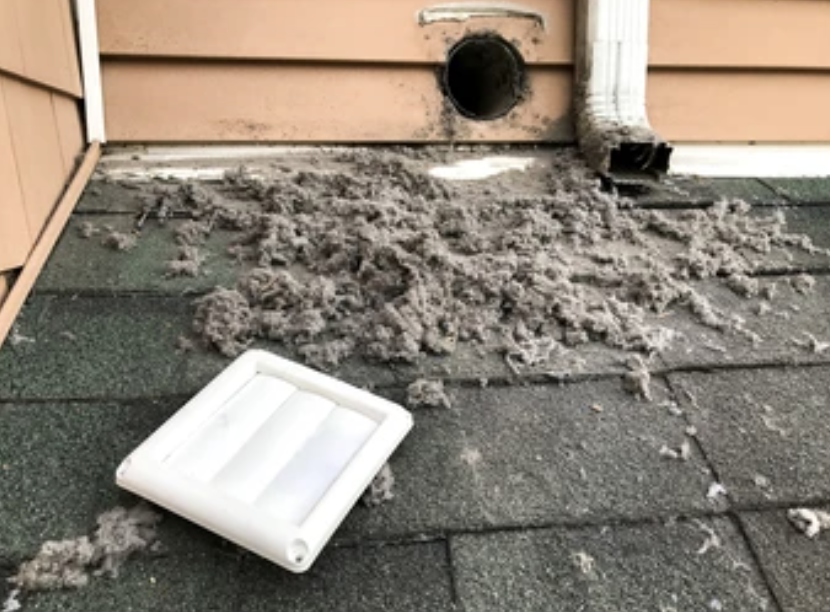
Lint accumulation around the dryer vent opening.
-
Increased energy bills due to inefficient drying cycles.

How to Clean Your Dryer Vent Step-by-Step
1. Gather Your Supplies
To get started with dryer vent cleaning, you'll need:
-
A dryer vent cleaning kit
-
A vacuum with a hose attachment
-
A dryer vent cleaner brush
-
A screwdriver (if needed to remove the vent cover)
-
A lint trap brush (optional but helpful)
2. Unplug the Dryer and Move It Away from the Wall
For safety reasons, unplug the dryer before cleaning to avoid electrical hazards. If you have a gas dryer, turn off the gas supply to prevent leaks. Gently slide the dryer away from the wall to give yourself enough space to work on the vent system. Check the area behind the dryer for dust buildup and clean it up to prevent fire risks.
3. Disconnect the Dryer Vent Hose
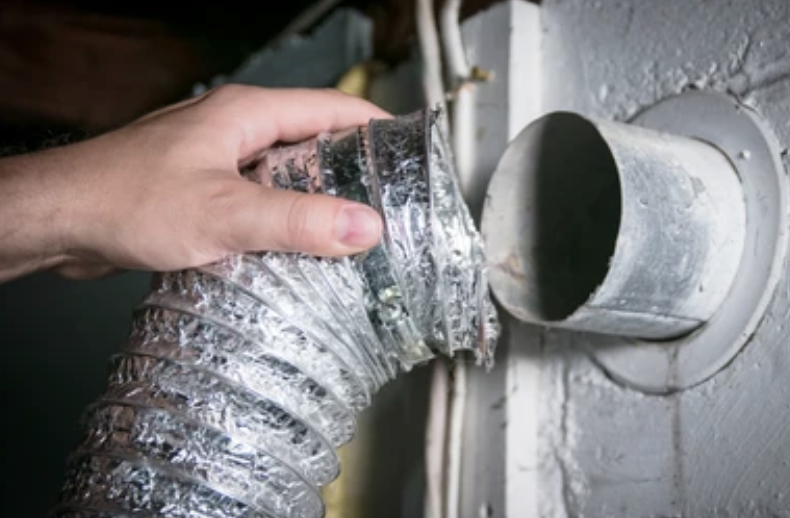
Locate the vent duct behind your dryer and carefully detach it using a screwdriver if necessary. Some vent hoses may be secured with clamps or tape, so inspect and remove them as needed. Be prepared for lint to fall out when disconnecting the hose. Consider placing a towel or a small tray underneath to catch any debris and prevent a mess.
4. Use a Dryer Vent Cleaner to Remove Lint
Insert a dryer vent cleaner brush into the vent duct and push it through to loosen debris. Move the brush in circular motions to dislodge built-up lint and dust. A dryer vent cleaning kit usually includes flexible rods that help reach deep into the vent, ensuring thorough cleaning. If the vent is especially clogged, use a drill-powered brush attachment for more effective lint removal.
5. Vacuum Out the Lint
Use a vacuum cleaner with a hose attachment to suck up the lint inside the vent. Focus on the area where the vent connects to the dryer, as this is a common place for lint buildup. Vacuum both the interior vent and the exterior vent opening to ensure maximum airflow. If necessary, use a crevice tool to reach into tighter spaces.
6. Clean the Lint Trap and Exhaust Hood
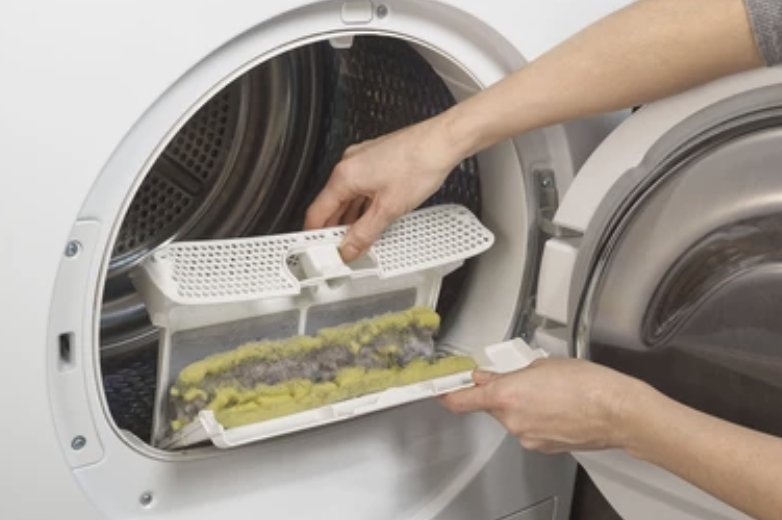
Don’t forget to clean the lint trap inside the dryer and the exhaust hood outside your home. Use a lint trap brush to remove stubborn debris. If the exhaust hood has a cover or flap, check that it opens and closes freely. A clogged exhaust hood can restrict airflow and reduce drying efficiency. Wipe down the exterior to remove dust and dirt buildup.
7. Reconnect Everything and Test the Dryer
Once everything is clean, reconnect the vent hose, making sure it’s securely fastened. Push the dryer back into place, taking care not to crush or bend the vent hose. Plug the dryer back in and turn on the gas supply if applicable. Run the dryer on an air-fluff cycle for a few minutes to ensure proper airflow and check for any unusual noises or blockages. If everything runs smoothly, your dryer is ready for use!
How Often Should You Clean Your Dryer Vent?
Experts recommend cleaning your dryer vent at least once a year. However, if you have a large household and use the dryer frequently, consider cleaning it every six months.
DIY vs. Professional Dryer Vent Cleaning Near Me
If you're comfortable with basic home maintenance, using a dryer vent cleaning kit can be an effective DIY solution. At Spycor.com, we offer high-quality cleaning kits designed to help you remove lint buildup and improve your dryer's efficiency. However, for hard-to-reach vents or if you suspect a severe clog, you might consider searching for dryer vent cleaning near me and hiring a professional. But before calling in the experts, try a DIY approach with a dryer vent cleaner from Spycor.com—it's a cost-effective way to maintain your appliance and prevent potential fire hazards.
At Spycor.com, we offer top-quality products designed for effective dryer vent duct cleaning. Whether you need a dryer vent cleaner or a dryer vent cleaning kit, we have the right tools for the job.
CLICK HERE to check out the best dryer vent cleaning products for your needs!


