Posted by Spycor Building on Jul 15th 2026
To waterproof a below-grade foundation, prep and patch the wall, apply the specified waterproofing or damp-proofing layer, install a drainage and protection membrane such as DELTA-MS, protect the assembly through backfill, and tie it into a perimeter footing drain. The drainage layer and footing drain relieve hydrostatic pressure. Skipping either one causes most callbacks.
This guide is written for home builders, residential basement crews, waterproofing subcontractors and commercial GCs who install or specify below-grade assemblies at project scale.
At a Glance
| Question | Answer |
|---|---|
|
Main goal |
Keep water out and relieve hydrostatic pressure on the wall |
|
Core assembly |
Waterproofing or damp-proofing layer + drainage/protection layer + footing drain |
|
Typical sequence |
Prep → waterproof → drainage/protection → top termination → backfill → footing drain |
|
Most common mistake |
Skipping the drainage layer or the footing drain tie-in |
|
Drainage/protection products |
|
|
Best for |
Residential basements, multifamily and light commercial foundation walls |
Why Most Below-Grade Waterproofing Failures Aren't a Product Problem
Concrete is porous. When soil around a foundation saturates, hydrostatic pressure pushes groundwater through the wall: first as dampness and efflorescence, then as active leaks.
Most callbacks trace back to a skipped step, not a defective product. The usual causes are no drainage layer to relieve pressure, a membrane punctured during backfill, or a coating applied over a damp wall. The assembly rarely fails as a whole; one component in the sequence does.
A complete system does two jobs. It keeps water out, and it gives water a path down to the footing drain so pressure never builds against the wall. Budget assemblies usually skip the second job, and that is why they fail within a few years.
Step-by-Step: How to Waterproof a Below-Grade Foundation
Step 1: Prepare the Foundation Wall
Excavate to expose the full wall height down to the footing. Remove form-tie snap-offs, fins, loose aggregate and soil. Patch honeycombing, tie holes and structural voids with hydraulic cement, because standard patching compound won't hold under hydrostatic load.
Prep depends on the substrate:
- Poured concrete: patch voids and clean the surface.
- CMU block: apply a parge coat, commonly 3/8 inch of Portland cement, before a fluid-applied membrane. Skipping it is a common cause of pinholing and early coating failure.
- ICF: follow the ICF manufacturer's guidance on compatible membranes and fastening.
The wall must be sound and dry enough for the specified product before anything goes on.
Step 2: Apply the Primary Waterproofing or Damp-Proofing Layer
This layer is chosen by groundwater conditions, soil type, code and the project spec. The common options:
|
Type |
How it works |
Best fit |
|---|---|---|
|
Fluid-applied membrane |
Sprayed or rolled; cures into a seamless film |
Complex geometry and penetrations; needs a clean, dry substrate and full cure |
|
Sheet-applied membrane |
Factory-made sheet, often self-adhered |
Long, straight wall runs; consistent thickness |
|
Bentonite |
Clay that swells and self-seals small punctures |
Specific soil and groundwater conditions on commercial work |
|
Cementitious |
Rigid trowel- or spray-applied coating |
Some retrofit and interior applications |
|
Damp-proofing |
Asphalt-based coating that resists vapor, not hydrostatic pressure |
Well-drained sites where code allows it |
For a deeper comparison, see Dimple Membrane vs. Fluid-Applied Waterproofing.
Step 3: Install the Drainage and Protection Layer
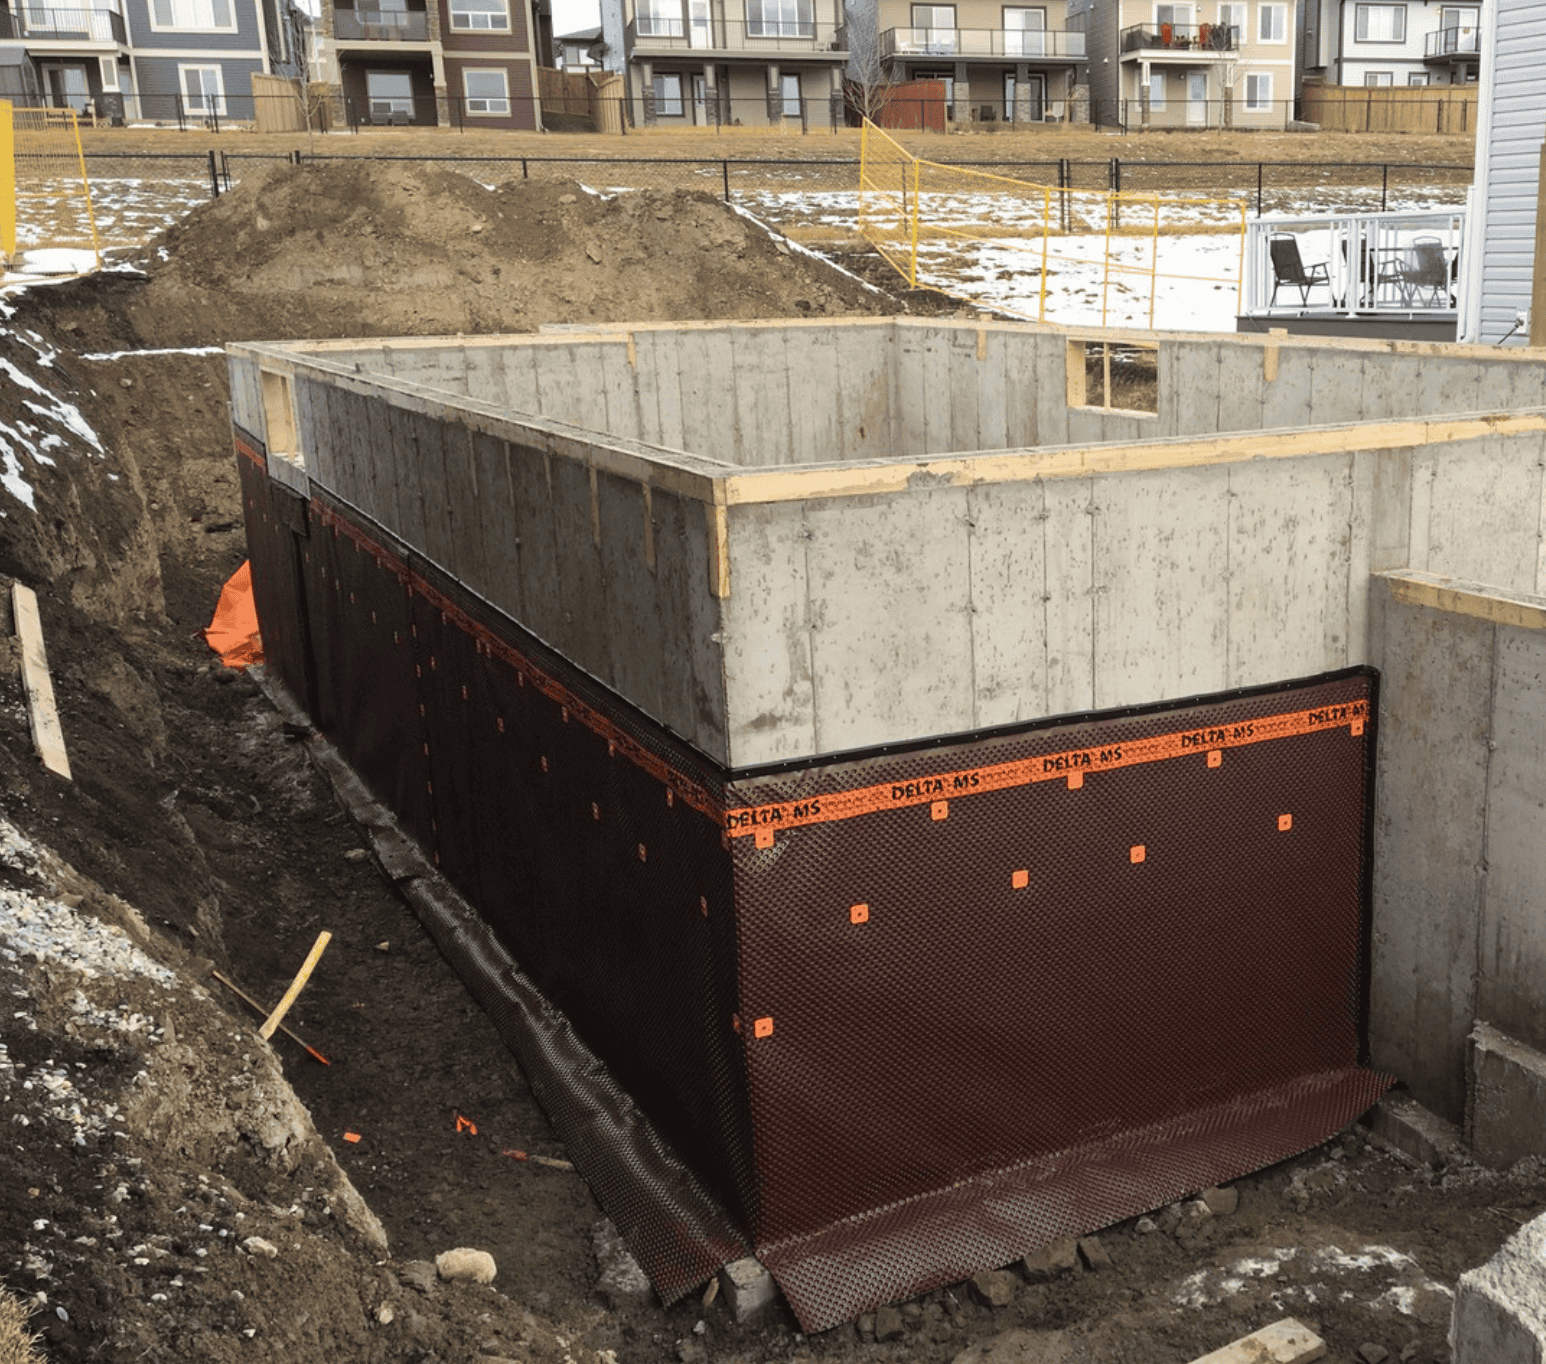
The drainage and protection layer gives water reaching the wall a clear path down to the footing drain. It also shields the waterproofing from backfill damage.
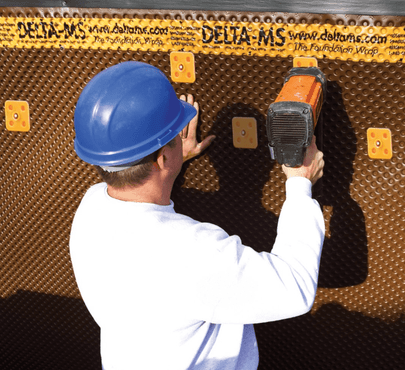
DELTA-MS is the most common choice on residential and light commercial walls. Its dimpled HDPE sheet holds an air gap against the wall and drains water to the footing. DELTA-MS complements the waterproofing or damp-proofing layer. Use it as part of an integrated system only where the manufacturer's details and local code allow it.
On commercial walls, deep excavations and clay soils, step up to a higher-capacity product:
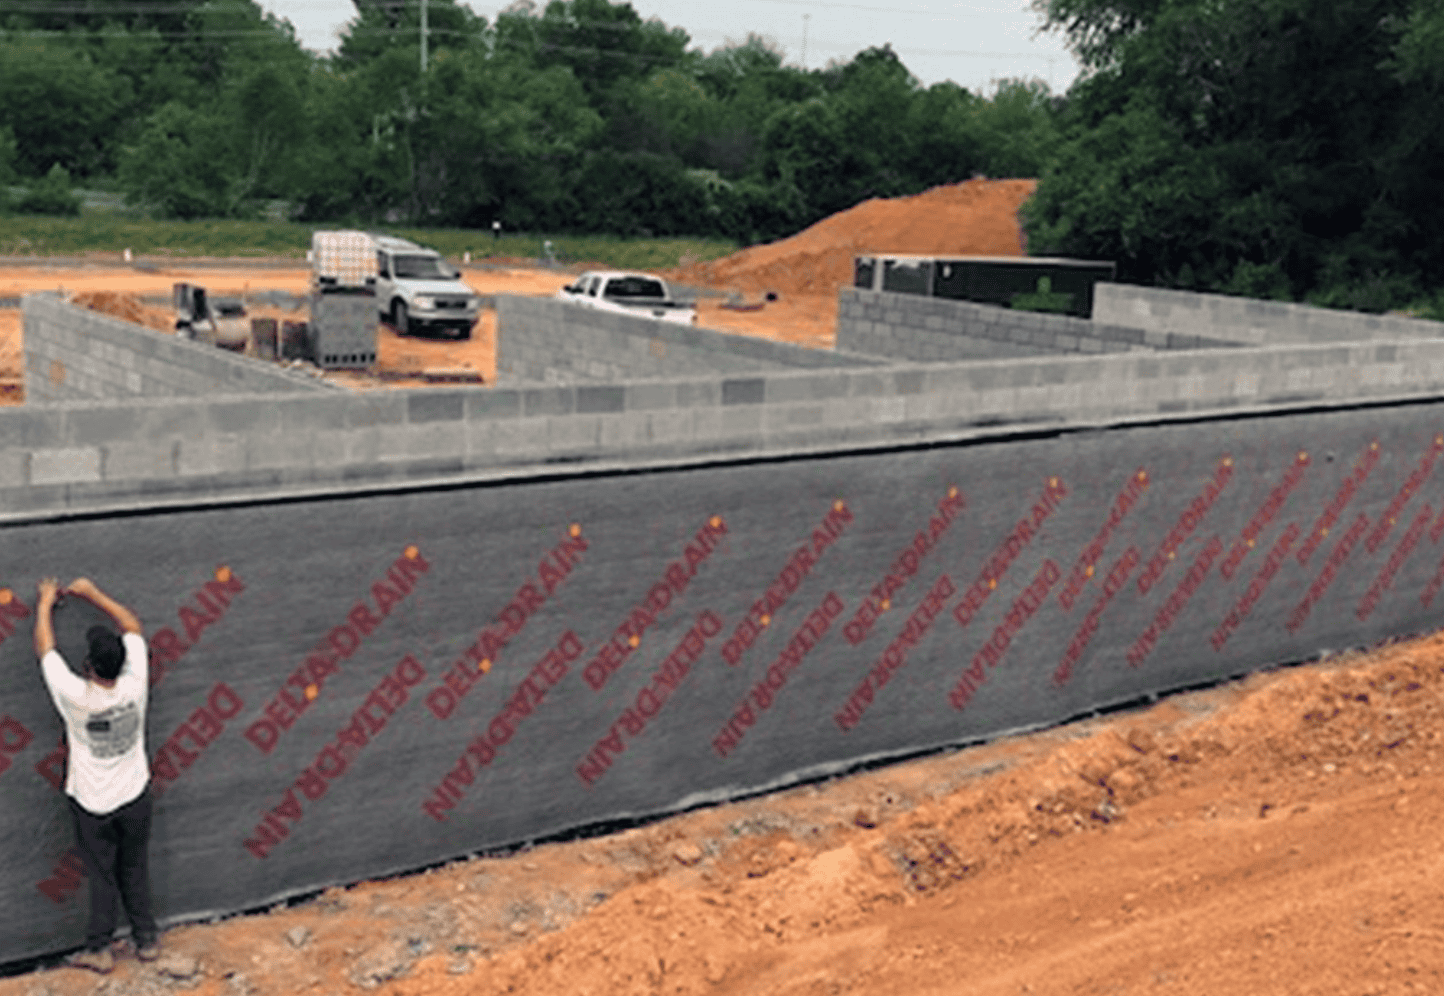
- DELTA-DRAIN 6000 HI-X or DELTA-DRAIN 6200 HI-X where higher drainage flow is specified.
- DELTA-TERRAXX for vertical walls carrying heavy soil loads.
Heavy clay soils need more drainage capacity than sandy soils; see DELTA-DRAIN for clay-heavy soils. Compare every option on the below-grade moisture barriers page.
Step 4: Protect the Assembly During Backfill
This is the step crews skip when they're behind schedule, and it causes the most callbacks.
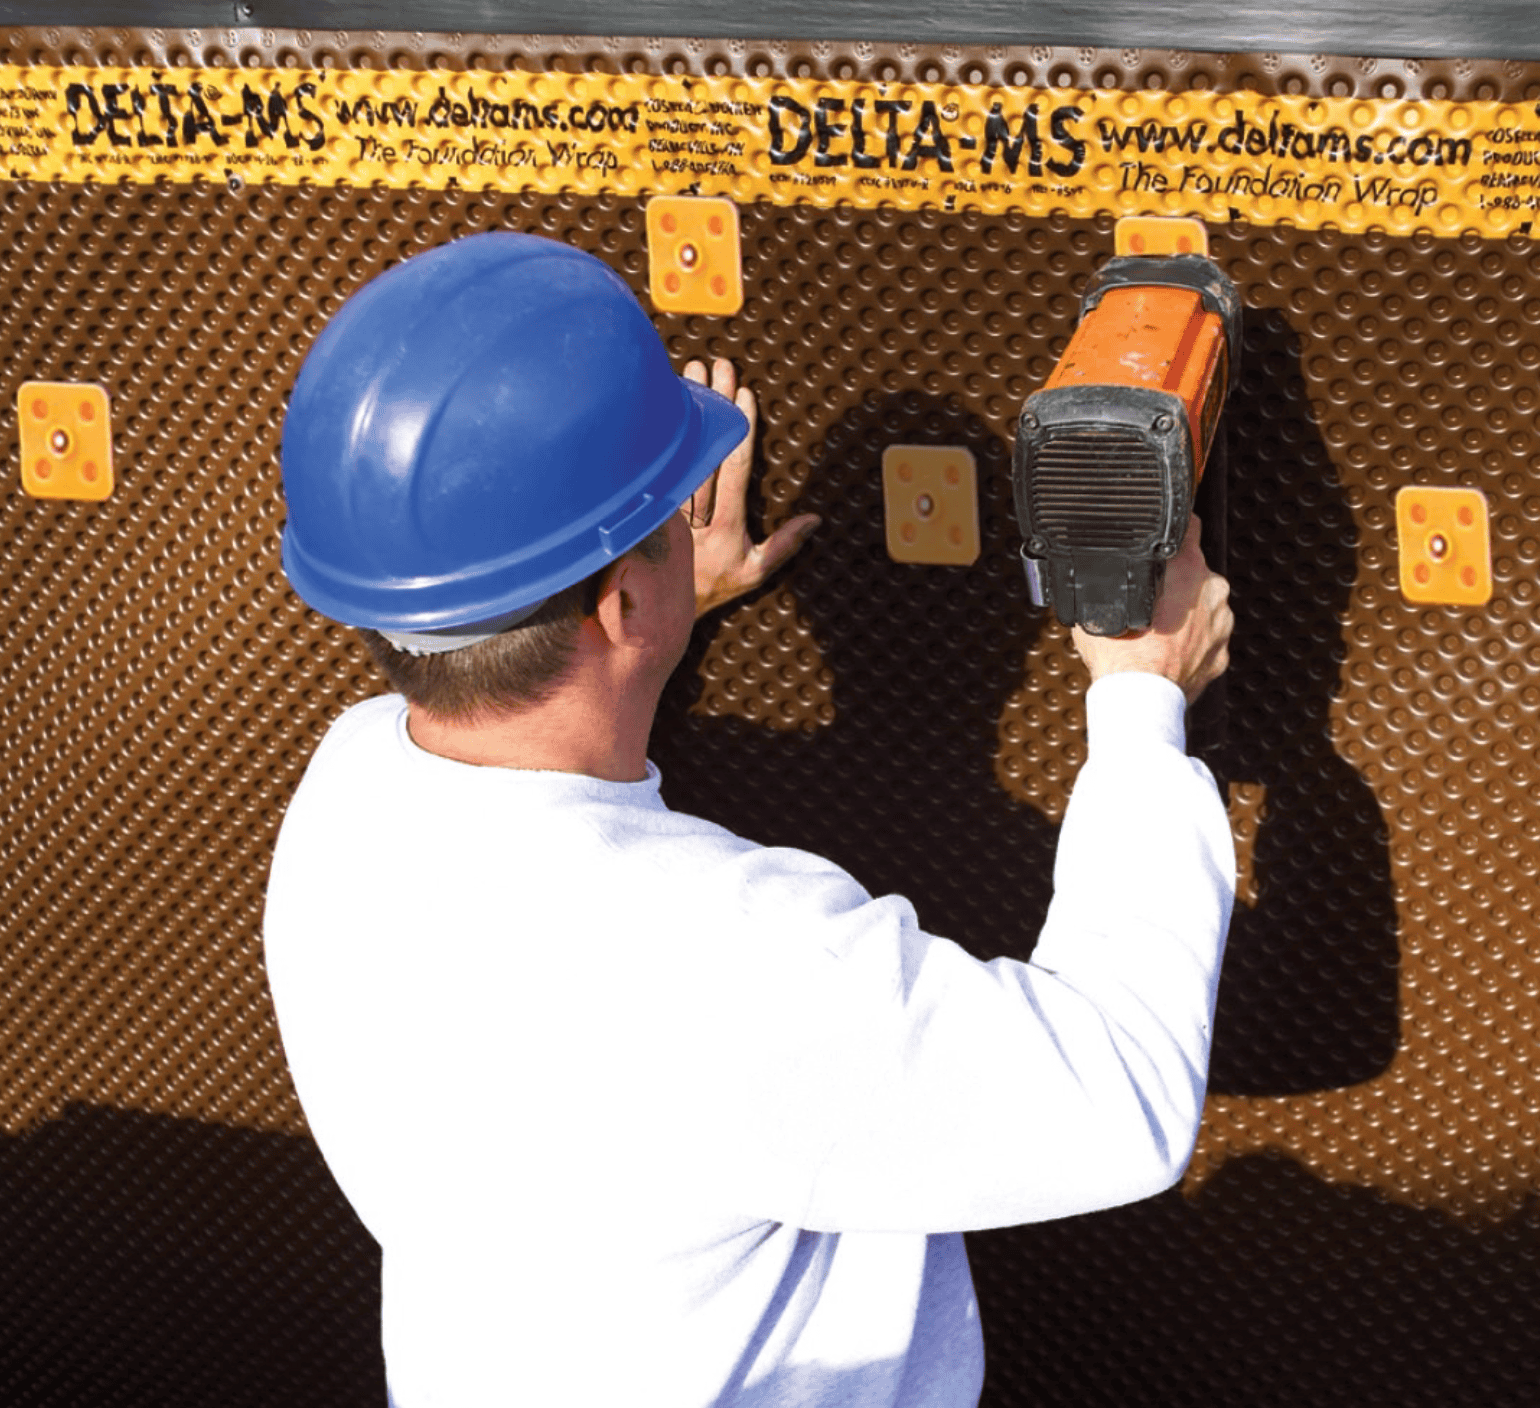
- Fasten the membrane per the manufacturer's spacing. The DELTA-MS Installation Kit includes 75 DELTA FAST-ners and 75 ft of Delta Flash (one kit per roll). Production crews can buy DELTA-PLUG fasteners in boxes of 5,000.
- Seal the top edge with a termination strip or bar and mastic so soil and surface water can't get behind the membrane.
- Backfill in lifts and compact gently. Never dump and grade rocky or clay-heavy fill in one pass.
A good assembly is worthless if the backfill crew punctures it an hour later.
Step 5: Tie Into Perimeter Footing Drainage
Run the drainage layer down to a footing drain: perforated pipe bedded in washed gravel and wrapped in filter fabric. Slope the pipe to daylight, a storm connection or a sump. Without a working footing drain, the water the membrane collects has nowhere to go.
Which Drainage and Protection Product Fits Your Project?
Match the product to the wall and the site. Roll sizes and minimum orders.
|
Project condition |
Product |
Roll size |
Minimum order |
|---|---|---|---|
|
Residential basement, typical soils |
5.0 ft × 65.6 ft (328 sq ft) |
1 roll |
|
|
Taller residential or multifamily walls |
433–525 sq ft per roll |
8 rolls |
|
|
Deep walls, single-sheet height |
9 ft 10 in × 65.6 ft (645 sq ft) |
11 rolls |
|
|
Clay soils or higher drainage flow |
4 ft or 6 ft × 50 ft (200–300 sq ft) |
4 rolls |
|
|
Commercial drainage board |
393.6–524.8 sq ft per roll |
4–8 rolls |
|
|
Vertical walls with heavy soil loads |
6 ft 7 in × 41 ft |
See product page |
|
|
Fastening and top termination |
75 FAST-ners + 75 ft Delta Flash |
1 per roll |
|
|
Production fastening |
Box of 5,000 |
1 box |
Estimating rolls: wall perimeter (ft) × membrane height (ft) ÷ roll coverage (sq ft), then add for laps and waste per the manufacturer's overlap detail.
Residential vs. Commercial: What Changes
|
Residential and home builders |
Commercial and multifamily |
|
|---|---|---|
|
Primary layer |
Damp-proofing or fluid-applied waterproofing, per code and site |
Specified waterproofing: sheet, fluid-applied or bentonite |
|
Drainage/protection |
DELTA-DRAIN 6000/6200 HI-X, DELTA-TERRAXX |
|
|
Who decides |
Builder or waterproofing sub, guided by code |
Architect or engineer spec |
|
Typical buy |
1 roll per wall section up to full-pallet orders |
Multi-roll project orders against a spec |
Waterproofing Layer vs. Drainage/Protection Layer
|
Factor |
Waterproofing layer |
Drainage/protection membrane (e.g., DELTA-MS) |
|---|---|---|
|
Function |
Primary barrier against water |
Drains water and protects the layer beneath |
|
Install method |
Spray, roll, sheet-adhere or trowel |
Mechanically fastened dimpled sheet |
|
Drainage |
None on its own |
Continuous drainage path to the footing |
|
Substrate tolerance |
Needs a clean, dry substrate |
Tolerates minor surface imperfections |
|
Selected by |
Groundwater, code, project spec |
The waterproofing layer it complements |
Common Mistakes That Cause Callbacks
- Using a drainage membrane where the spec calls for a separate waterproofing layer
- Leaving the top edge unterminated, so soil and surface water get behind the membrane
- Backfilling with rocky fill in one pass
- Skipping the footing drain tie-in
- Applying fluid-applied coatings over a damp or dirty substrate
- Skipping the parge coat on CMU block
- Using standard patching compound instead of hydraulic cement on structural voids
- Undersizing drainage capacity on clay-heavy sites
Code and Spec Notes
- Residential (IRC): Section R406 sets foundation damp-proofing and waterproofing requirements, with waterproofing required on high water table or severe soil-water sites. Section R405 covers foundation drainage.
- Commercial (IBC): Section 1805 covers damp-proofing and waterproofing; the project spec governs product selection.
- Always follow the manufacturer's published installation instructions and the edition of the code your jurisdiction has adopted.
Get the Right Below-Grade Assembly for Your Next Project
Spycor Building Products supplies DELTA drainage and protection membranes for home builders, waterproofing contractors and commercial projects. Shop below-grade moisture barriers or call (843) 517-8180 for a project quote and roll take-off.
FAQ
What is the best way to waterproof a below-grade foundation?
Use a complete assembly: a waterproofing or damp-proofing layer, a drainage and protection membrane such as DELTA-MS, a sealed top termination and a perimeter footing drain. No single product does all four jobs.
What is the difference between waterproofing and damp-proofing?
Waterproofing resists hydrostatic pressure and standing water. Damp-proofing resists moisture vapor only. Code and site groundwater conditions decide which one is required.
Does a dimple membrane replace waterproofing?
Not in most assemblies. DELTA-MS complements the waterproofing or damp-proofing layer. It can be part of an integrated system only where the manufacturer's details and local code allow it.
Can a dimple membrane go over fluid-applied waterproofing?
Yes. This is a common assembly. The coating is the waterproofing layer, and the dimpled membrane drains water and protects the coating during backfill. Confirm compatibility and cure time with the manufacturer.
When should I use a drainage board instead of DELTA-MS?
Use a higher-capacity product such as DELTA-DRAIN 6000 HI-X or DELTA-TERRAXX on clay soils, deep walls, high groundwater or when the commercial spec calls for higher flow.
Can dimple membranes be used on ICF foundations?
Yes, they are commonly used below grade on ICF walls. Follow the ICF and membrane manufacturers' guidance on compatibility and fastening.
How high should below-grade waterproofing extend?
At minimum, from the top of the footing to finished grade. Many specs carry the system a few inches above grade and seal the top edge with a termination strip.
How many rolls of DELTA-MS do I need?
Multiply wall perimeter by membrane height and divide by roll coverage (328 sq ft for the 5.0 ft roll), then add for laps and waste.
Can contractors order DELTA products in project quantities?
Yes. Spycor supplies DELTA membranes by the roll and in multi-roll project orders. Call (843) 517-8180 for project quotes.